 Print2Fax Extended Email Transport (does not show any Email user interface)
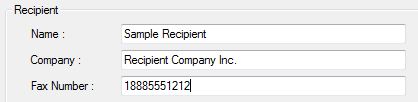
With the Send fax window you will need to add a recipient in the Recipient area by entering the information on the party you are sending a fax (see below).
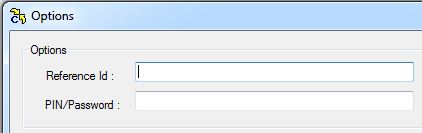
By clicking on the Options button on the bottom of the Recipient Information, a Reference ID can be added, or, if your Concord authorized sending requires a PIN it can be set here.
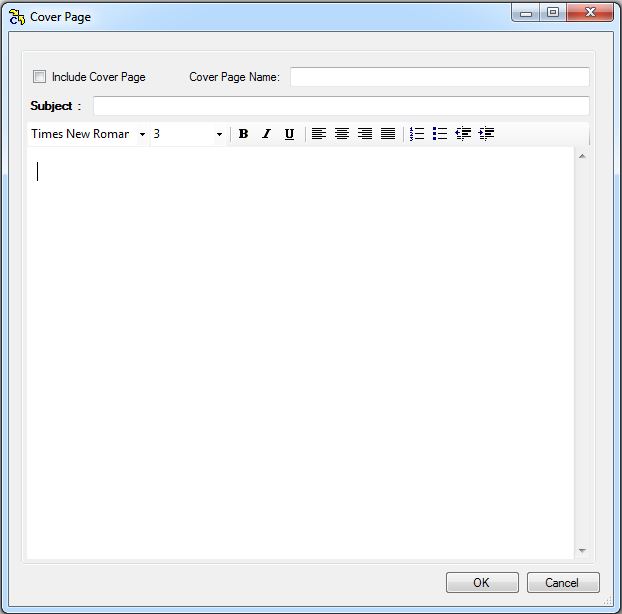
If you wish to add a cove page this can be done by clicking the Cover Page button. Then within screen that follows, you may enter the information required to include your custom cover page. For more information on creating a custom cover page and changing cover page appearance please refer to the Concord Fax Online Administrator Guide.
Once all of the settings are completed you would just click the send fax button on the Send Fax dialog.
The fax will be sent using the Microsoft Outlook profile you have configured in the Extended Email tab (see sample below).

Both Extended Email and Simple Email use your validated Email address to authorize sending faxes.
Note: If the email application Outlook Is closed the fax will not be sent until Outlook is opened. The Print2Fax print job for Extended Email and Simple Email is linked to the email application. If the application is closed, the job will not print until it is opened.